Creating a Reusable Component in Figma
Figma is a free, online, collaborative prototyping and wire-framing tool.
This software is powerful, which comes with a rather steep learning curve.
You can use Figma in your browser without downloading anything. If you prefer, you can download the desktop app which boasts more features. The desktop version syncs effortlessly with the web version. This guide includes features available in browser mode.
Once you learn how to make a component, it’s easy to quickly mockup an entire site in minutes. This guide will step you through setting up a project and getting a few components onto your mockup.
Set up an account. Once you log in, you will see your dashboard. This lists all of your projects in Figma. To add a new one, click the + symbol. Here you will see your working space for this project. You will be adding all pages of your website or prototype here. Each page of your site will lay next to each other to create a type of storyboard.
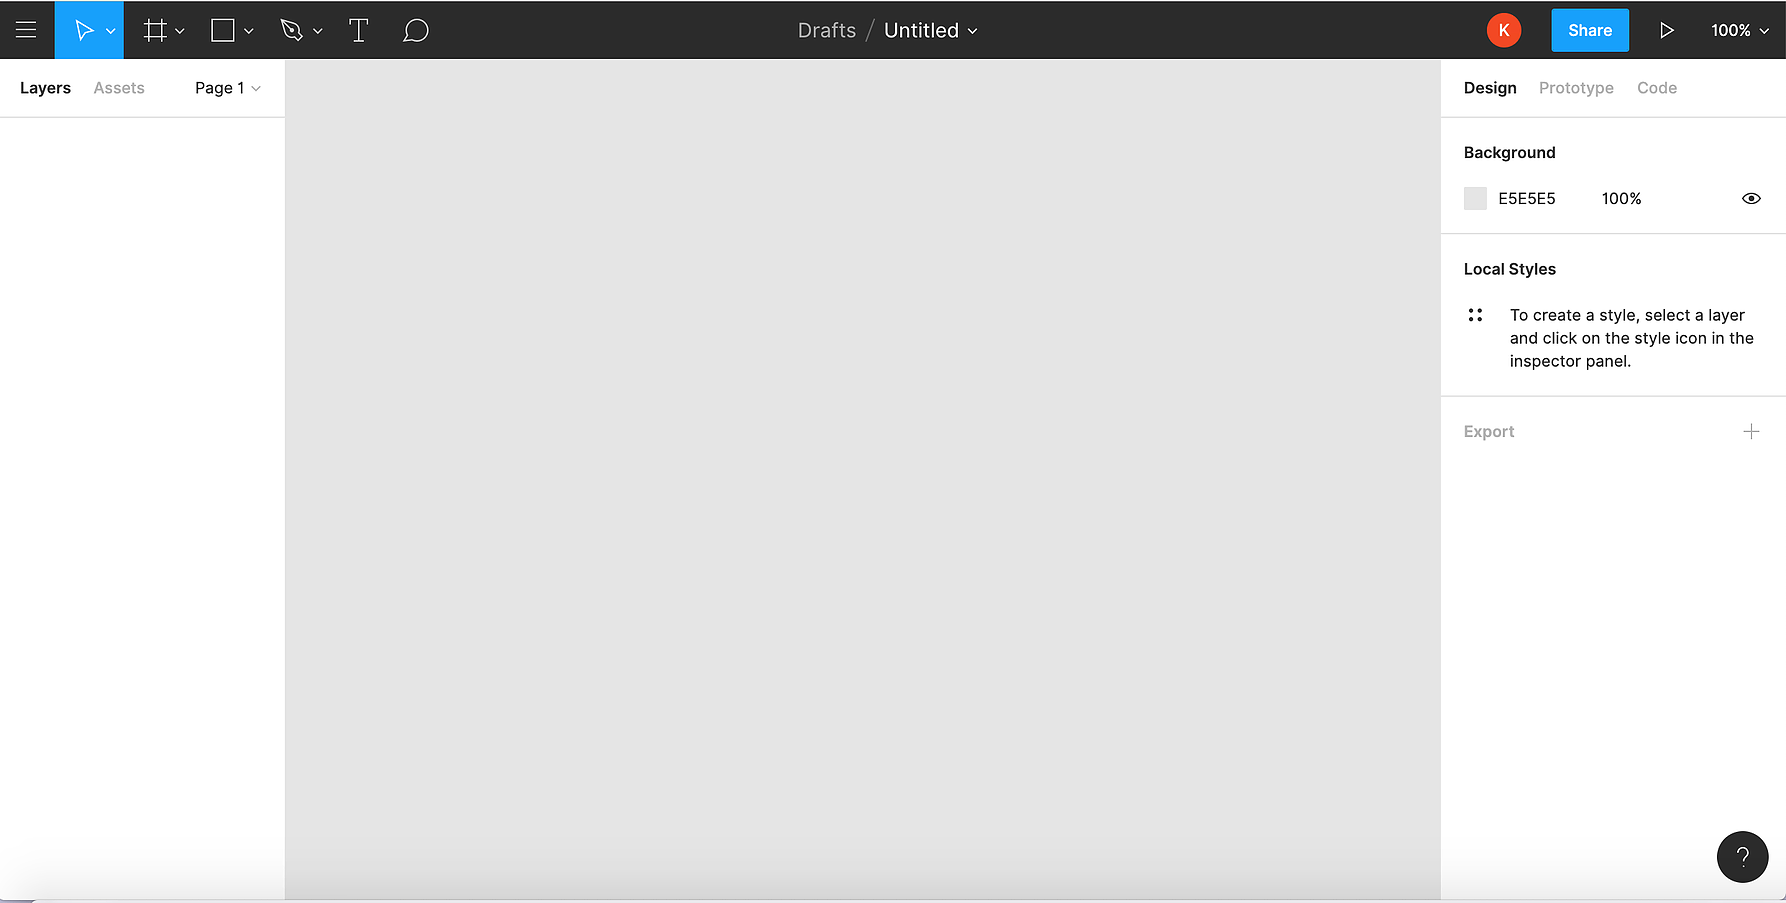
The left pane holds layers, assets and project navigation. The right pane holds three tabs: design, prototype, and code. The design tab is where you will concentrate on if doing a static wireframe. Click on frame to add a new mockup outline. Nothing happens yet. You will see to the right, on your design tab, there is a list of several phone, tablet, desktop, watch, paper, and social media templates. Choose one that you would like to design in. iPhone X will be used for this tutorial.
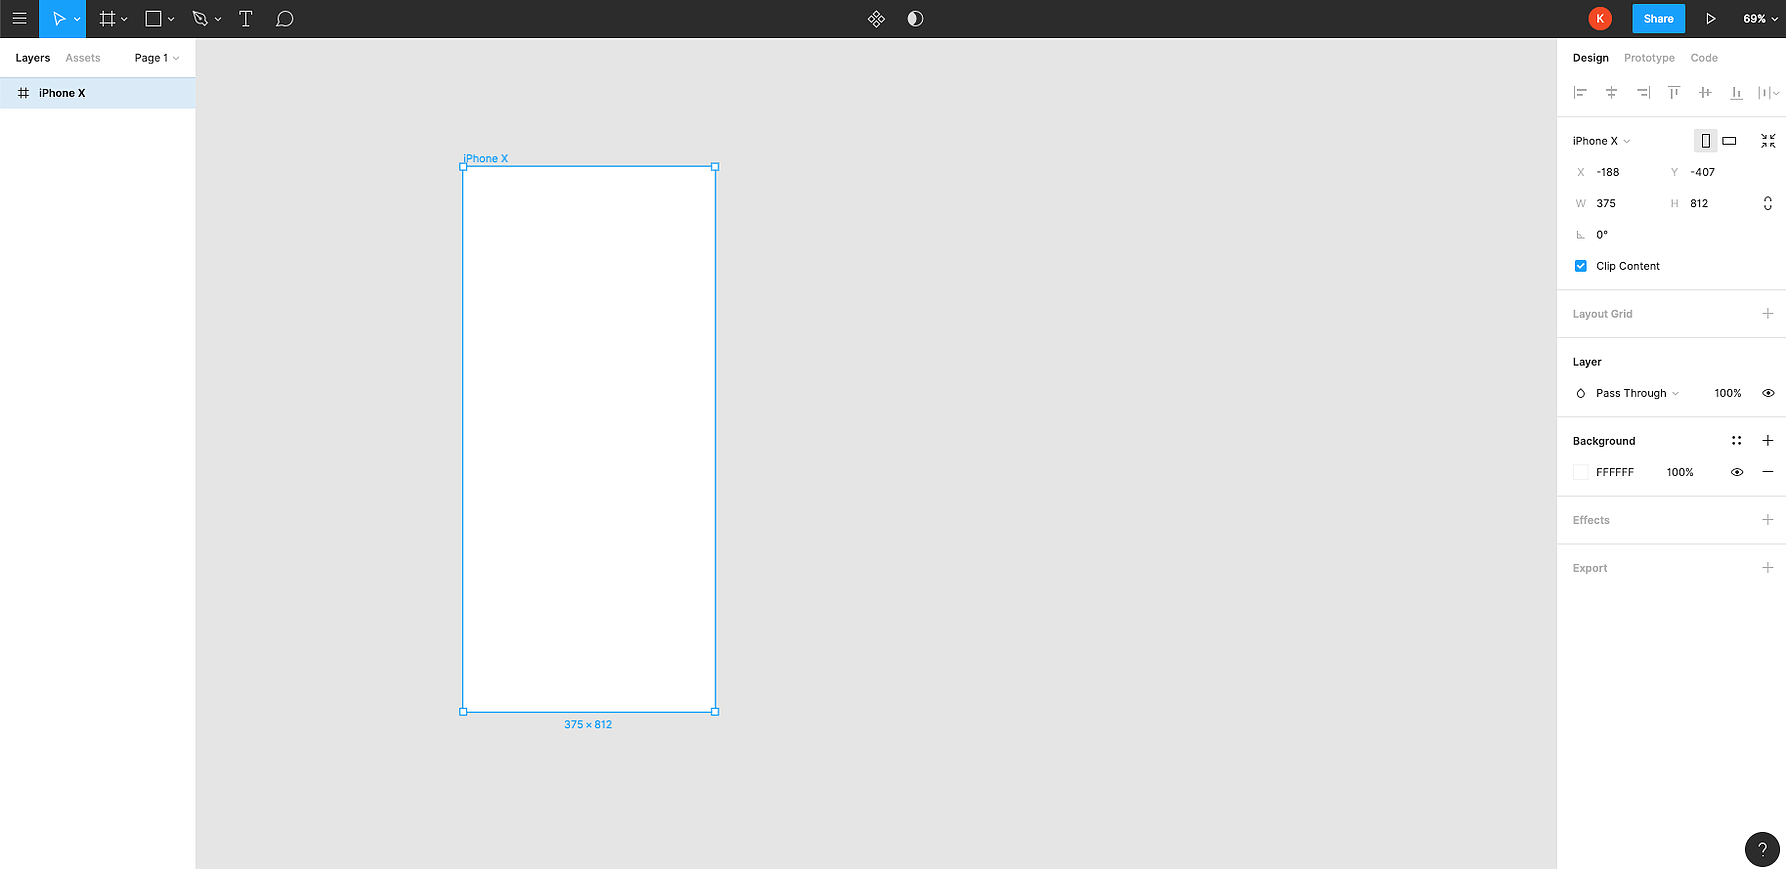
In this example we will design component that can be used across many pages of the website. We will create a hamburger menu. A hamburger menu is a square with three lines. To draw a square, click the shape tool (the square) on the Figma navigation bar, and select rectangle.
To draw a perfect square, hold shift on your keyboard and drag your mouse from the top left corner of the page.
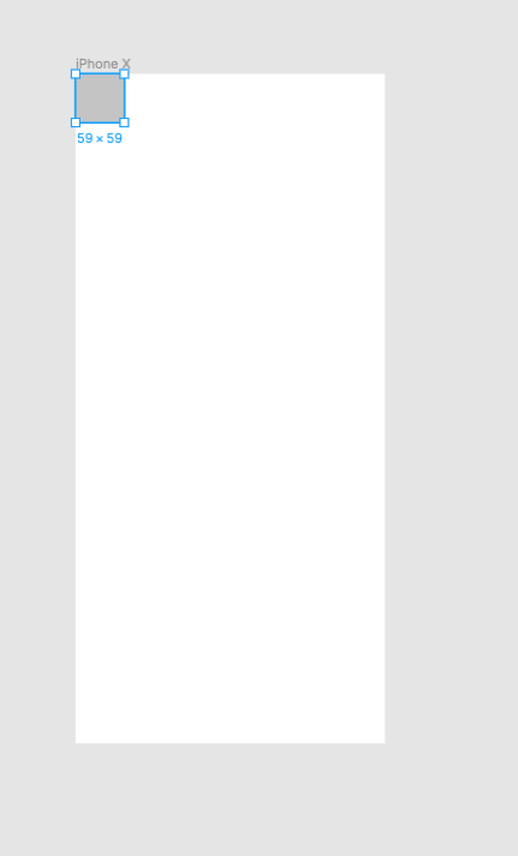
Here we have a square that is 59px X 59px. If we wanted to get an exact size of square, we can input the size into the design pane while the square is selected. You can also allocate where on the page you would like this square in the design page.
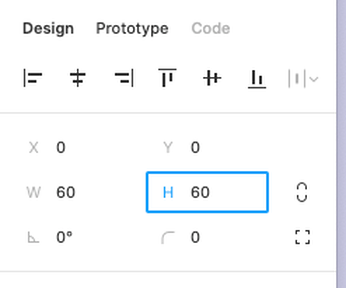
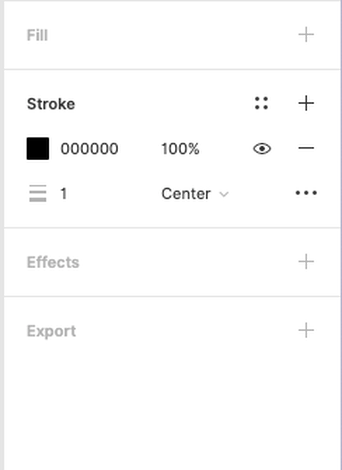
To draw a line, select the shape tool and select line. To draw a perfectly straight line, hold shift on your keyboard while you drag. You can again change the size to make it exact in the design pane. To make the stroke of this line thicker, change the number in the stroke pane on the right design bar.
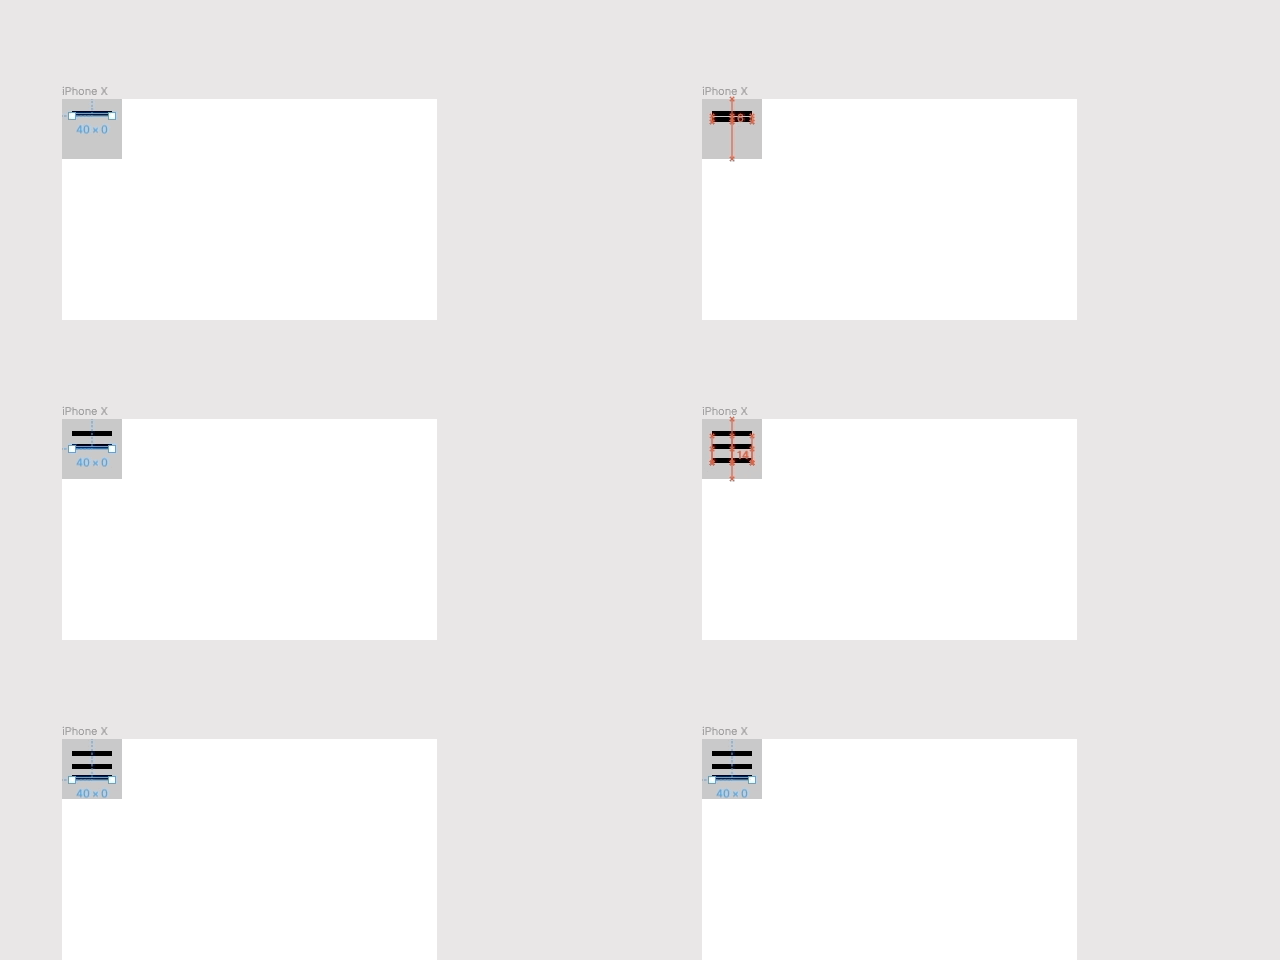
If you have repeating elements, it’s best to copy and paste them rather than draw them over. To draw the second and third line of the hamburger menu, you can hold alt/option with your keyboard (while you have the pointer selected on the nav bar) and drag the line down to make a new line. You can also just select, copy, and paste if that is easier for you.
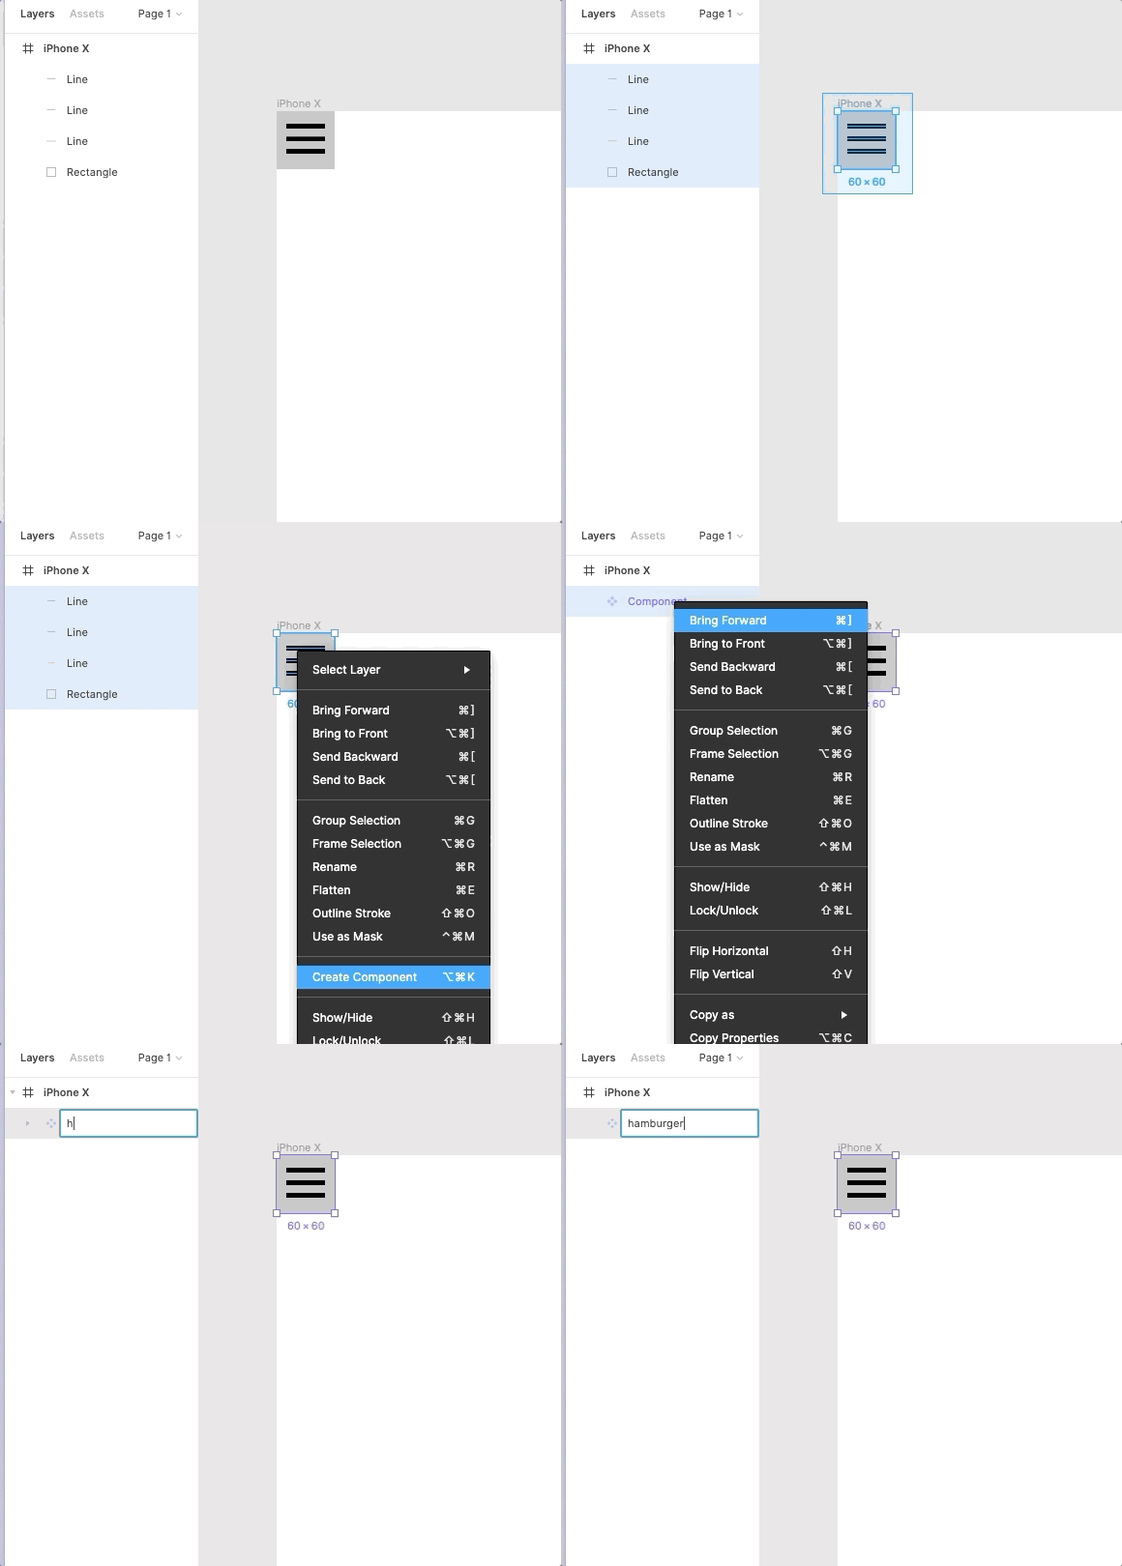
You will notice now on our layers panel that we have 4 shapes, a rectangle and three lines. We want to “glue” these elements together so that we can reuse this hamburger menu on other pages. Drag a box around the menu. Right click and select “create component”. In the layers panel, right click on the newly created component and rename it to something you will recognize.
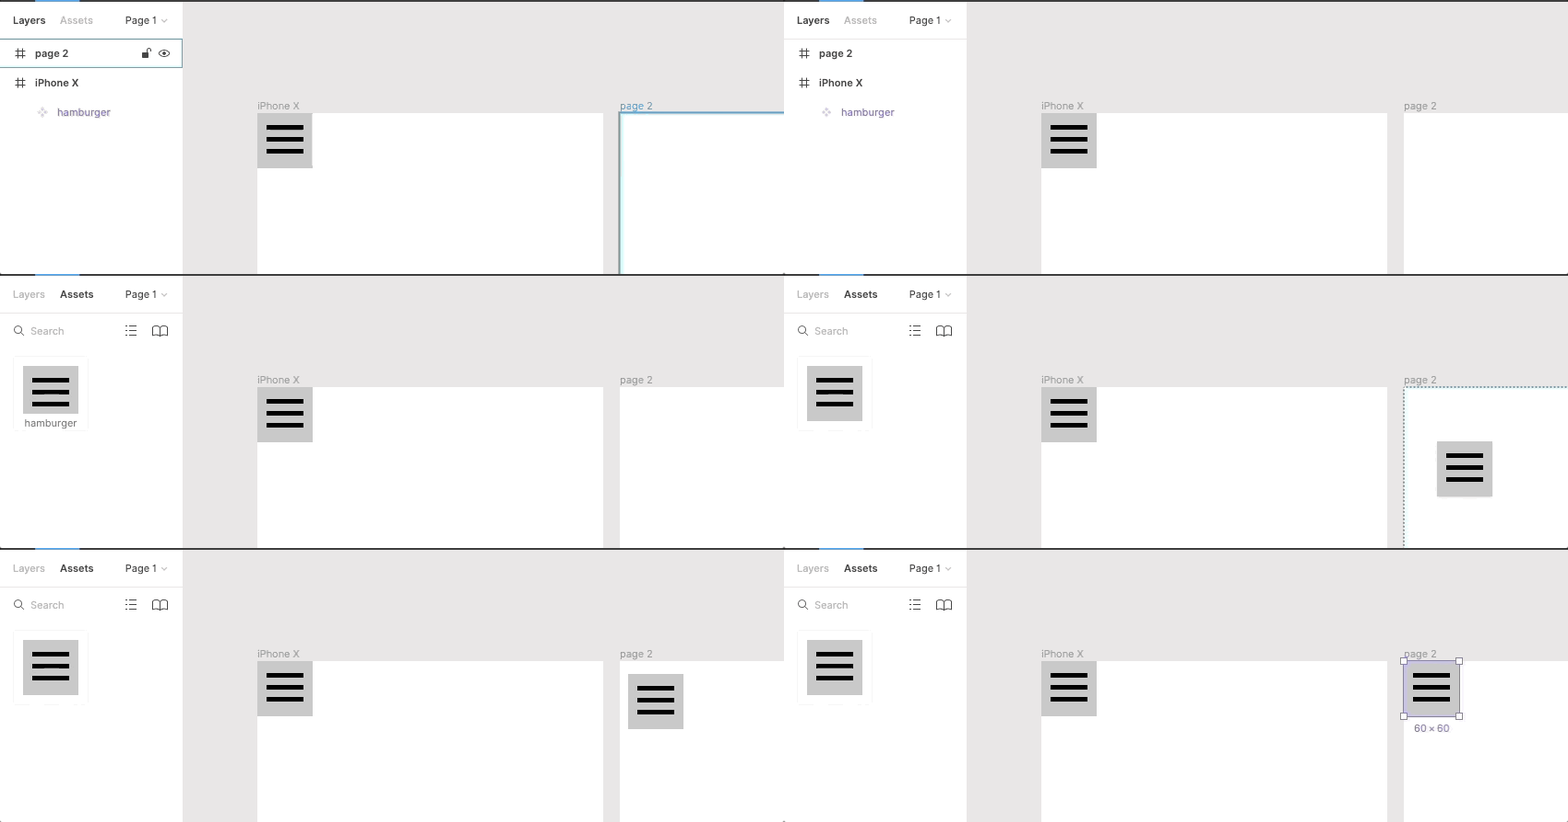
Now when you create a new page and want to add this hamburger menu to it, you can select the new page (in this case 'page 2'), select ‘Assets’ in your left hand pane, and drag the hamburger component onto the new page.

Kate Hansen
Kate Hansen is a new-media artist and front-end web developer who is committed to efficient and aesthetically relevant solutions. Her interested in web development began during her tenure as a Project Manager at the Office of Public Art where she led the redesign of a free database of local visual, literary, and performing artists. During her time as a stay-at-home mom, Kate has graduated from Academy Pittsburgh, a full-stack coding bootcamp, and is currently working as a freelance web developer with a local artist to document her time in-residence with a refugee community in Pittsburgh.Learn Digital Skills
Find out when the next cohort begins!
The most comprehensive program to up your game in the remote career world.
Learn More