Styling Tables for Email
Finished Table Fit for an Email
Creating tables in HTML is not the current favorite when building a website. But for something like an email newsletter, tables are necessary. Email clients are pretty far behind in their ability to render HTML. To make sure your email displays properly in the majority of email clients, tables are the way to go. Here, we will go through the process of creating a basic 3 column table styled with inline CSS.
First, we set up our table using table tags. Then, we will add the amount of columns and rows we want to use. For this example, we will have 3 columns and 4 rows. We will use th, which designates table header, for the first row. And we use tr (table row) for the following rows, and td (table data) for each cell. The td tags will nest 3 within each tr or th. Add your content between the th and td tags.
Now that we have our table set up, we can start to style it! We will be doing all the style inline, so it will appear in the tags themselves. This can get very repetitive, but in building an email newsletter you cannot attach a separate stylesheet. We will also not use shorthand CSS as individual properties work better in email.
When you create a table, the borders between the grid are invisible. If you want to see the boxes around your table, you can add border=“1” to your table tag and then add your style, like this:
table border=“1” style=“border: 1px solid black;” Now, you have a visible border around your table, like this:
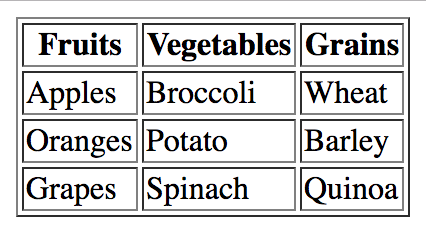
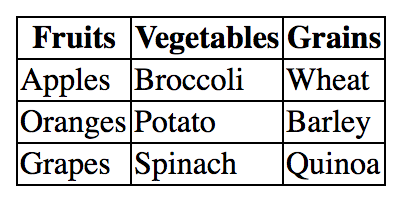
If you want to get rid of the double line on your table grid, you can add “border-collapse: collapse” to your style tag on your table.

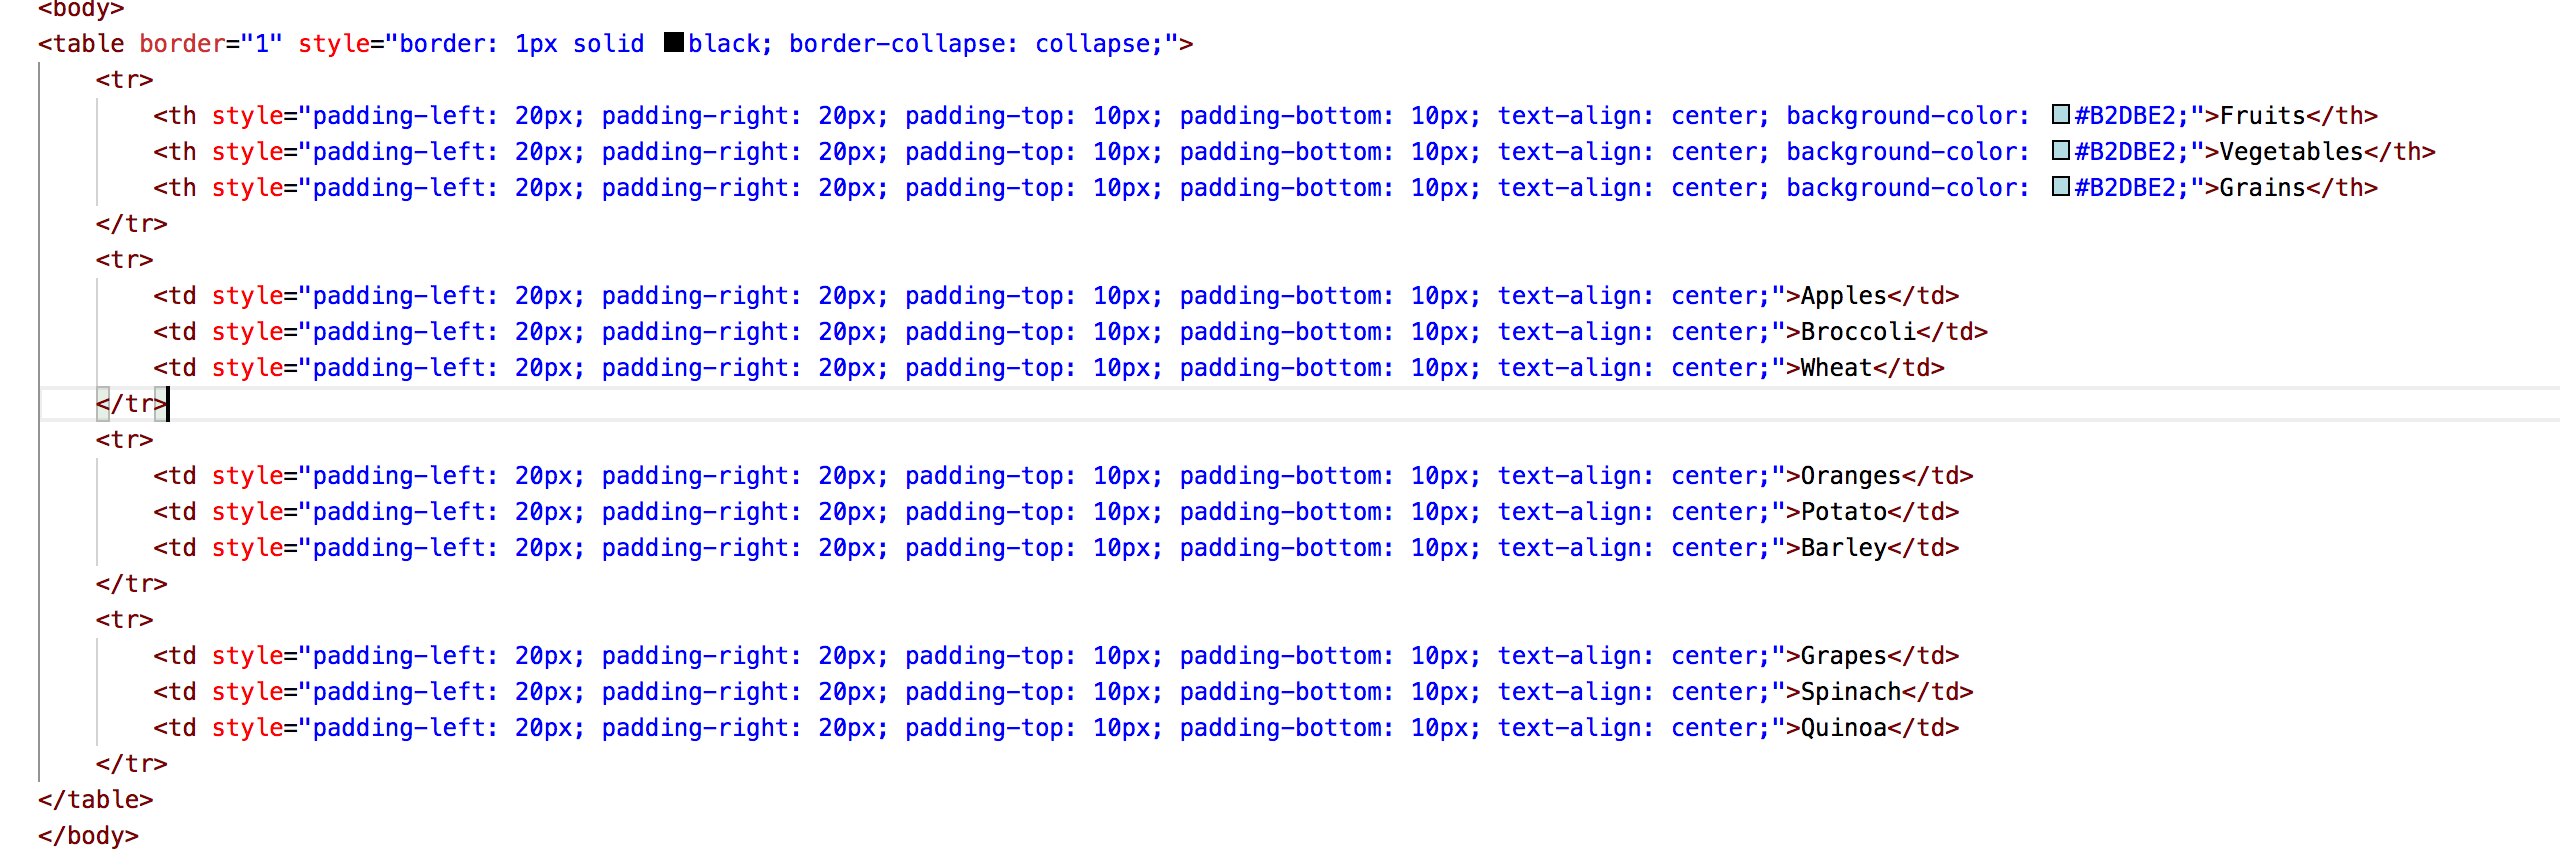
Now that we have our basic table layout, we can adjust the spacing within the table. Use cellpadding to adjust the space between the content of the cell and it’s borders. Use borderspacing to adjust the space between the cells (this doesn’t work if you use border-collapse: collapse). Let’s add 20px of padding to the left and right, and 10px of padding to the top and bottom of each cell. Here is where it gets repetitive as we have to add the style to each th and td tag.
There are several different options when making a table: you can add background colors, center the text, place an image in the cells, or add borders to the sides. For this exercise, we will center the text using text-align: center; and add a background color to the headings using background-color: #B2DBE2; .
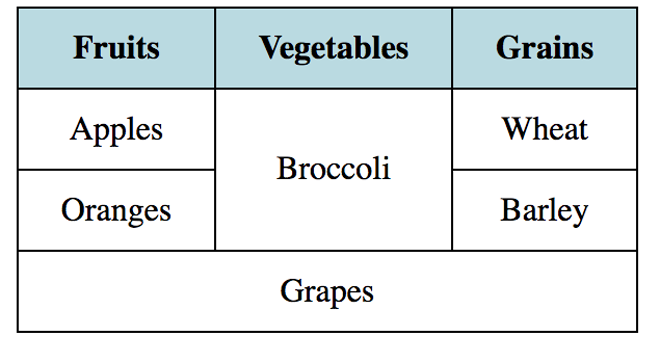
If you want content to take up more than one row or column, you can use colspan or rowspan. Make sure you delete the extra td tags to keep your table layout the same. For this, we will delete the “spinach,” “quinoa” and “potato” cells to use colspan and rowspan.
Set the cell with “broccoli” to td rowspan=“2” and the cell with “grapes” to td colspan=“3”
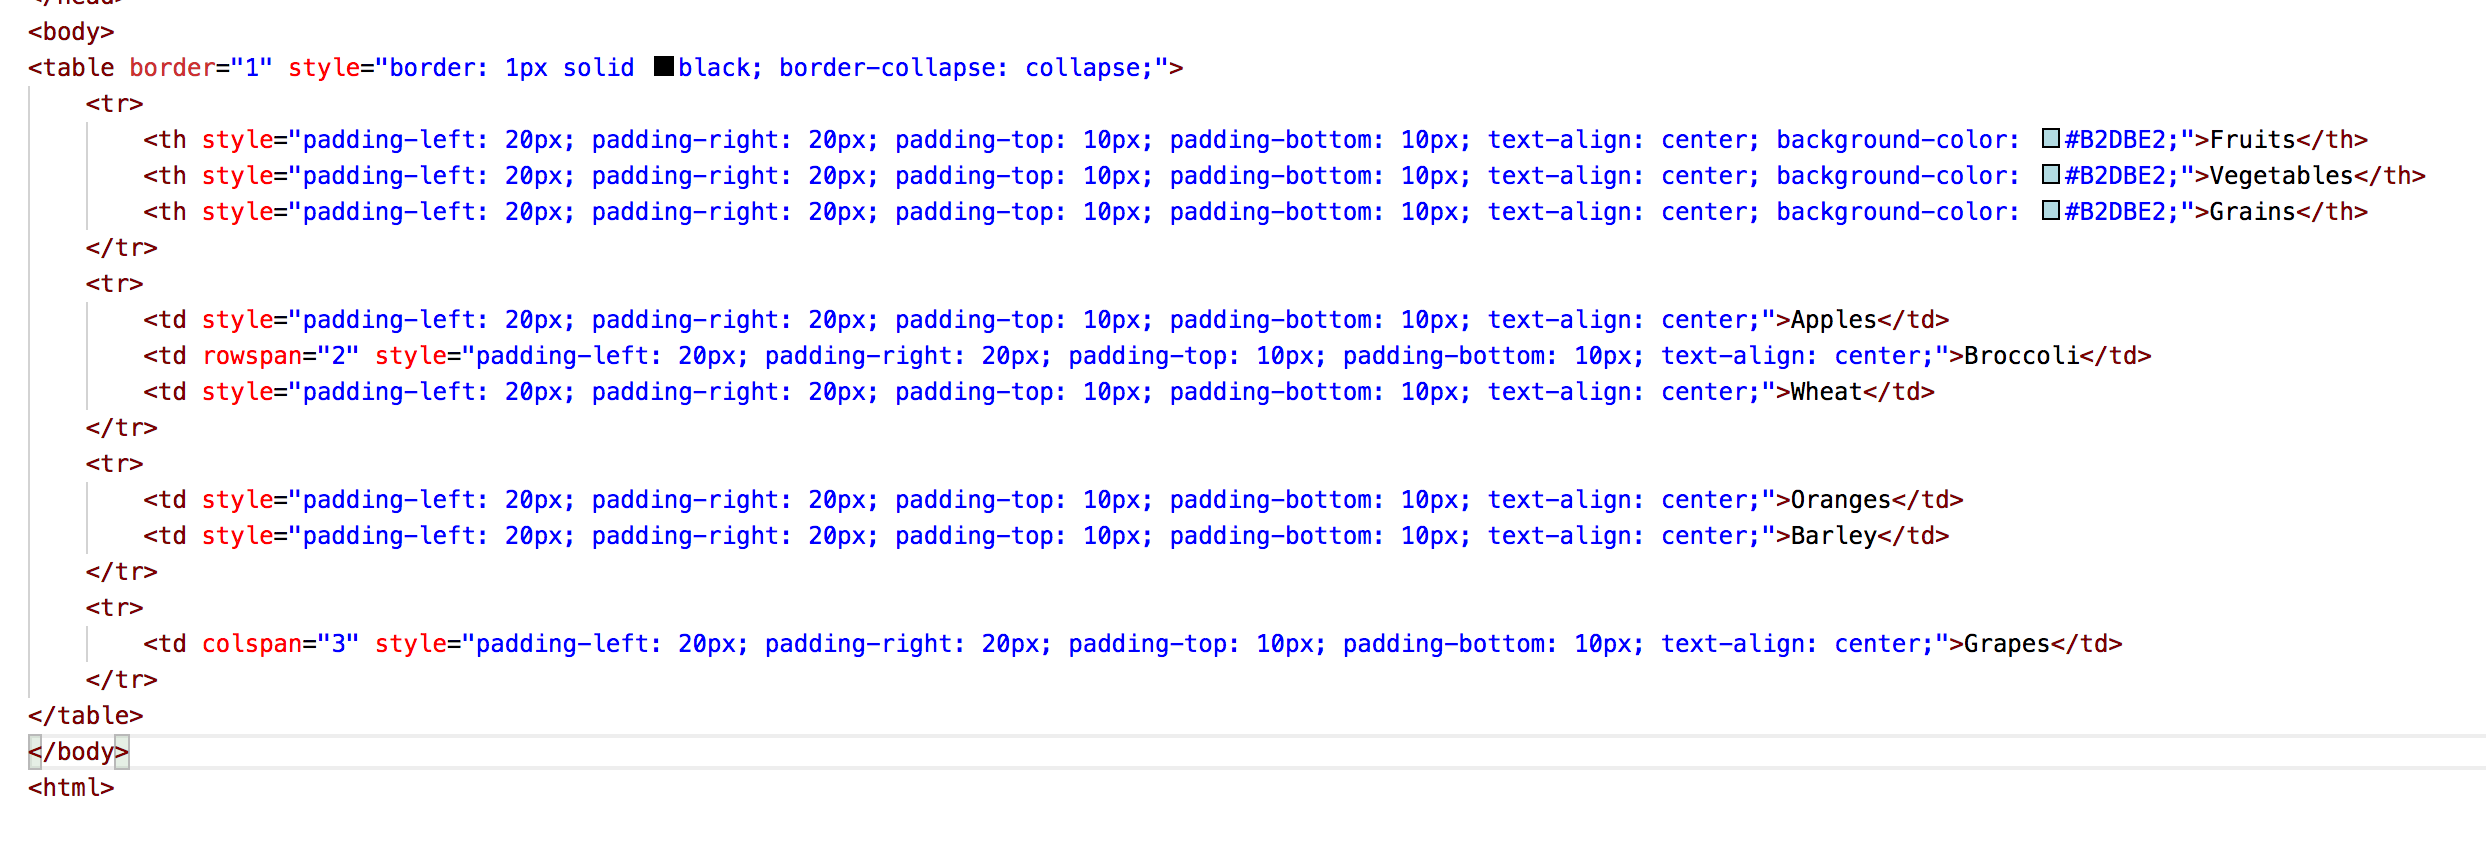
And now you have a table fit for an email!

Learn Digital Skills
Find out when the next cohort begins!
The most comprehensive program to up your game in the remote career world.
Learn More