
Got Git?
Getting Started with Your First Repository
Congratulations on starting your coding journey! You’re probably feeling excited and overwhelmed by all the new lingo that is rolling off of everyone’s tongues. Here are a few tips to help you ease into your new coding life.
You've set up a GitHub, created your first repository, and even added some files. Now what? Let's use the terminal to clone your repository onto your computer. A terminal is text-based interface where you can interact with your files. When working in the terminal, you are always in a directory (or folder) somewhere on your computer. Cloning your repository using the terminal serves several purposes. First, it establishes a connection between your computer and your GitHub repository, and the terminal will know where to send your coding projects. Next, it creates the directory on your local computer. It also initializes the repository so the terminal tracks changes to your files.
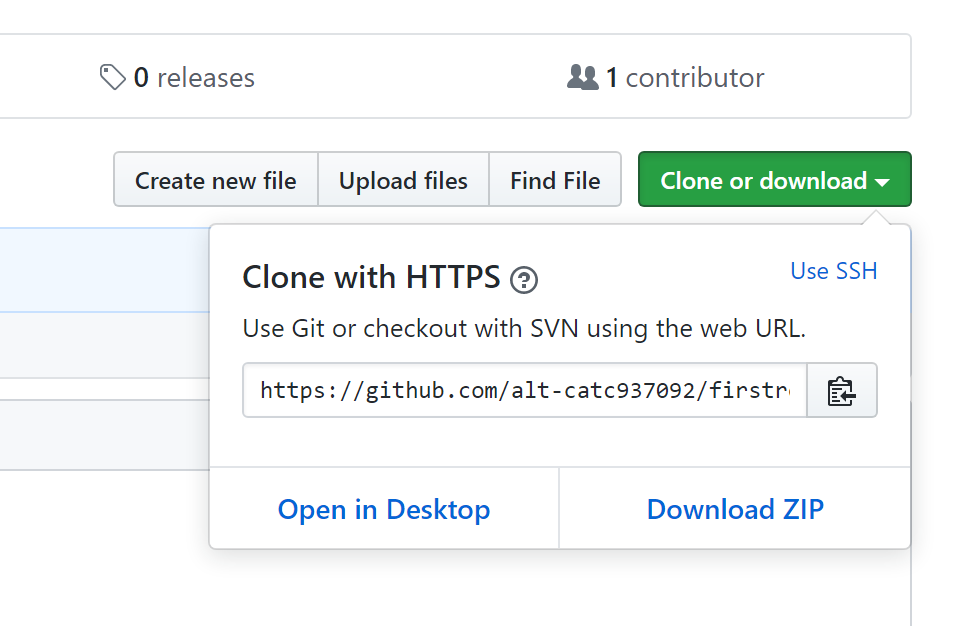
Copy the web URL of your repository. Click the green Clone or download button in your GitHub repository (right side of the screen). The web URL of your repository will appear in a drop down below the button. Click the button next to it (clipboard with an arrow) to copy it.
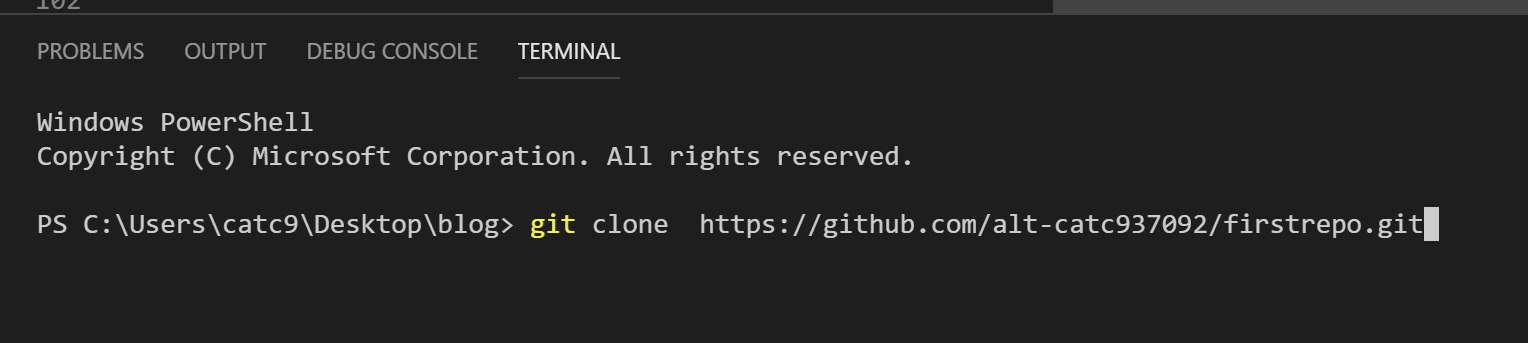
Clone your repository to your computer. Launch your terminal. This could be in
VSCode or another tool. At the command prompt, type git clone and paste the url
that you just copied, and hit enter. This will create a copy of your repository onto your computer.
As you code, you will want to send, or push your changes to your GitHub repository (this is like saving your work to the cloud). You need to prepare your files to be pushed. First, save your work. With your cursor anywhere in your code, press CTRL+S. This saves your work to your local (on your computer) repository.
Let Git know that you want to send the file to the repository. This is called staging the file. You do this with a git add command: git add filename (Intermediate tip: if you type the first letter of the filename and hit tab, the terminal will cycle through all your files so you don’t have to type the whole filename).

Make a quick note of what you did in this version of your code. This is a commit. You do this with the git commit command: git commit -m “note to self and others”
(Git commit [space] dash m [space] double quotes note to self close double quotes)

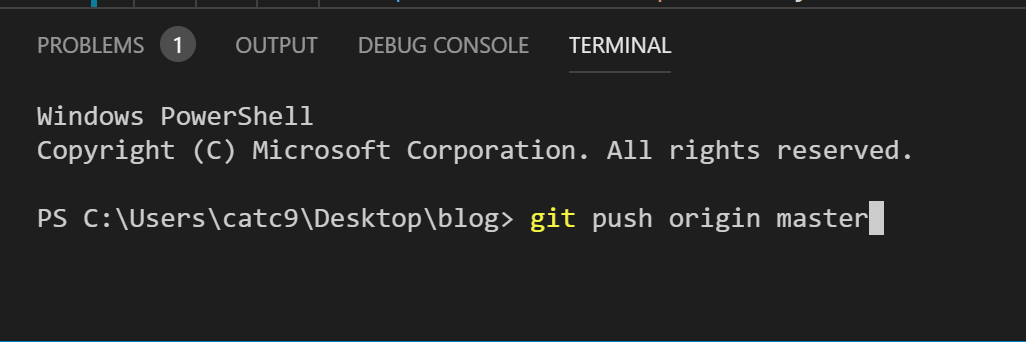
Push your files to the repository. Now you are ready to send, or push the file(s) up to the repository by typing git push origin master.
If you want to make sure that your changes were sent, go back to your GitHub and check the repository. You should see the time elasped since you saved your files. That's it! You'll be using the terminal like a pro in no time!

Cathy
Cathy Cheo-Isaacs (@iwearthecrowns) is a wearer of many crowns. From professional learning to educational technology, event production, and everything in between, Cathy brings her obsession with details, efficiency, and love of technology to everything she encounters. A passionate, problem solving, life long learner, her latest adventure as a full stack developer couldn’t be more perfect. She is the proud wife of @mr_isaacs and mom of @amazingrace1214 and @leilaboo215.Learn Digital Skills
Find out when the next cohort begins!
The most comprehensive program to up your game in the remote career world.
Learn More